Trezor.io/Start — Starting Up Your Device | Trezor Start
In the era of increasing cyber threats, securing digital assets is more important than ever. Trezor hardware wallets are widely recognized for their robust security and ease of use. Whether you hold Bitcoin, Ethereum, or a diversified portfolio, starting your Trezor journey begins at Trezor.io/start. This official guide provides a smooth path for new users to configure their device safely.
Why Trezor Is the Safest Crypto Wallet
Trezor is built to keep your cryptocurrency entirely offline, reducing exposure to hacks, malware, and phishing attempts. By using a hardware wallet, you maintain full control of your private keys. Trezor.io/start ensures that your setup is authentic and secure, helping you avoid fraudulent software.
Preparing for Setup
Before you begin, gather the materials in your Trezor package and ensure your computer is free from malware. Choose a private environment where no one can view your screen, especially during seed generation.
Steps to Set Up Your Device Using Trezor.io/start
Step 1: Connect Your Wallet
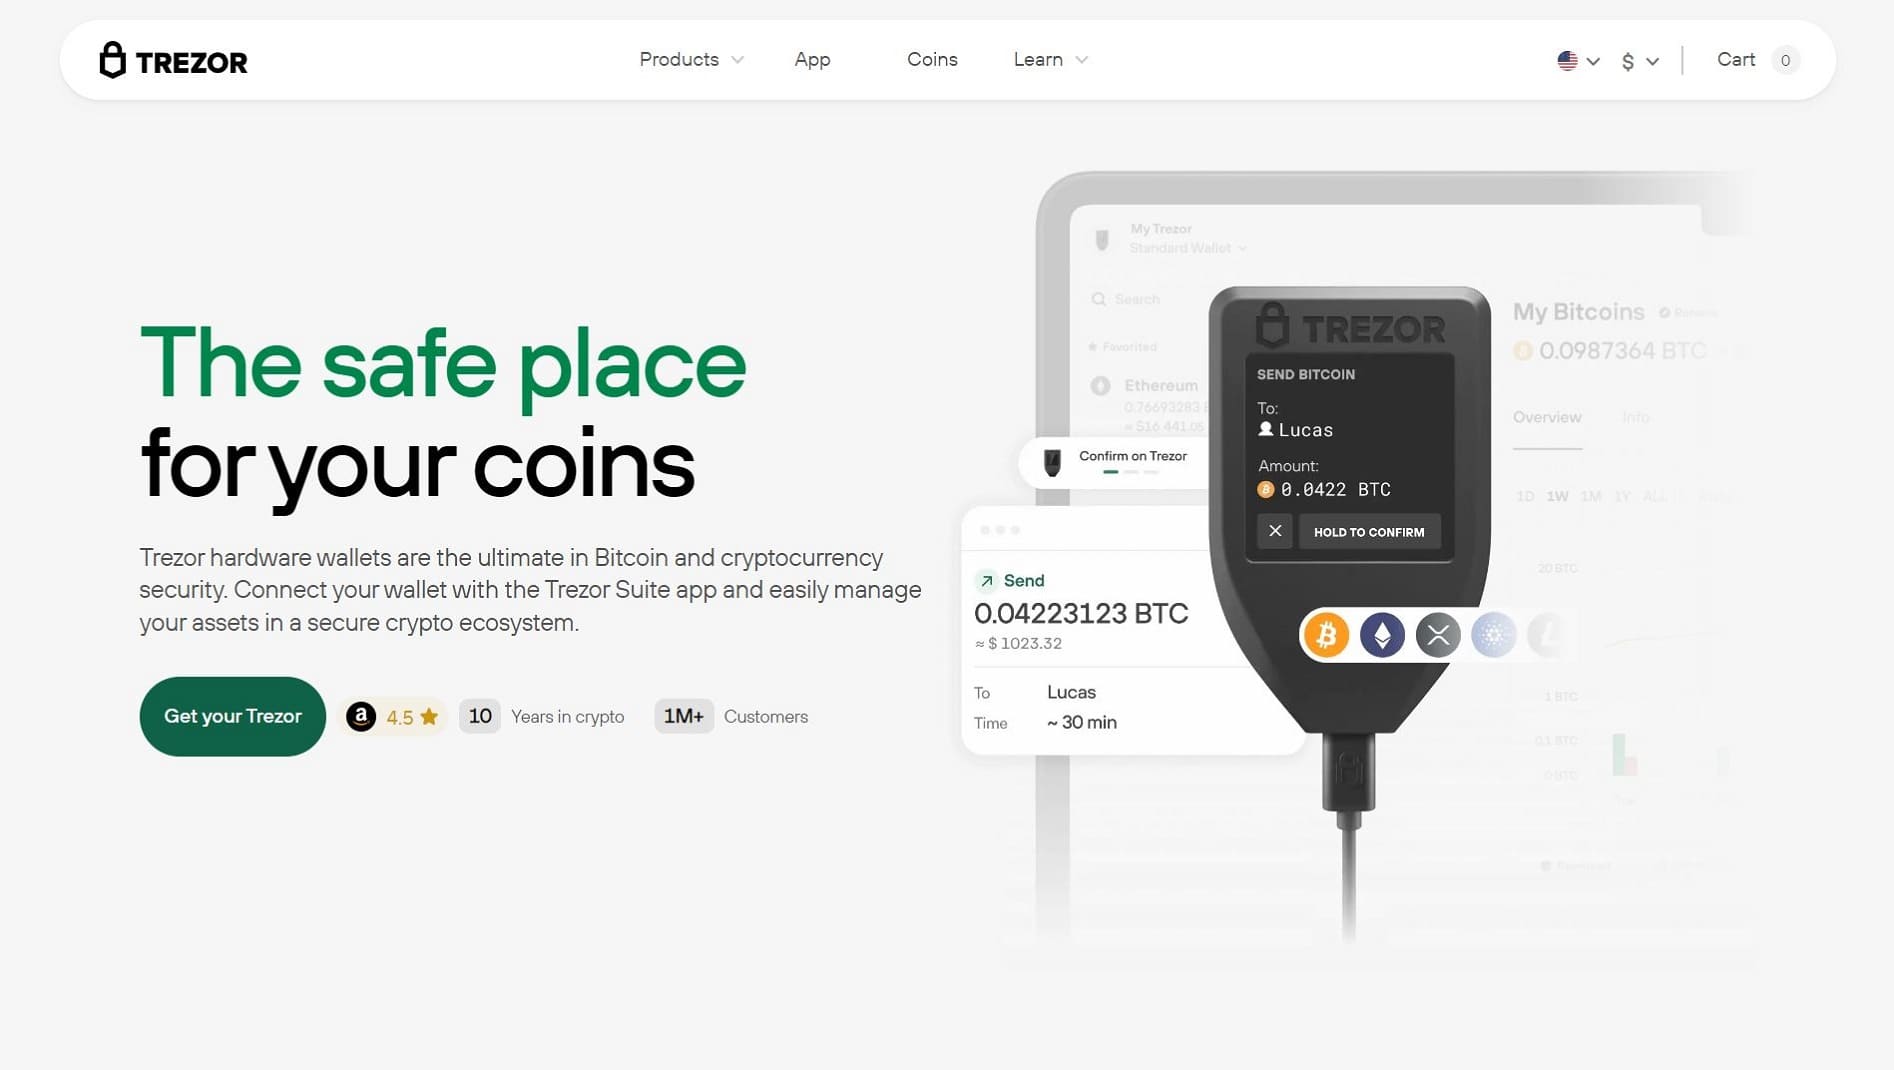
Use the provided USB cable to connect the device to your computer. Once connected, open your browser and go to Trezor.io/start. This page recognizes your wallet model and directs you to the correct setup instructions.
Step 2: Install Trezor Suite
Click the download option to install Trezor Suite, the official desktop interface. This software allows you to manage funds, monitor portfolios, and adjust security settings.
Step 3: Install Device Firmware
Trezor ships devices without firmware to guarantee authenticity. During setup, you’ll install the latest official firmware directly from Trezor.io/start. Keeping firmware updated ensures optimal security.
Step 4: Create a New Wallet
After firmware installation, choose Create Wallet. Your device will generate a recovery seed. Write this down on the provided card. The seed is your ultimate backup and must be kept offline and secure.
Step 5: Confirm Your Seed
The device will ask you to verify the words to ensure they were copied correctly. This feature eliminates mistakes that could cost you access to your funds.
Step 6: Personalize Your Wallet
You can now set a PIN, label your device, and customize security settings within Trezor Suite. The PIN protects your device from unauthorized access.
Managing Coins and Tokens
Once everything is set up, you can add accounts for various cryptocurrencies. Trezor supports thousands of coins and tokens. You can receive, send, and monitor your holdings through the intuitive Trezor Suite dashboard.
Tips for Maximum Security
- Never share your recovery seed.
- Avoid storing the seed digitally.
- Regularly update your Trezor Suite and firmware.
- Consider using a metal backup plate for long-term protection.
Conclusion
Trezor.io/start delivers a safe, beginner-friendly environment for setting up your Trezor hardware wallet. With step-by-step instructions, strong security tools, and intuitive software, it ensures your digital assets are protected from threats. By following the official setup guide, you gain peace of mind and total control over your crypto investments.